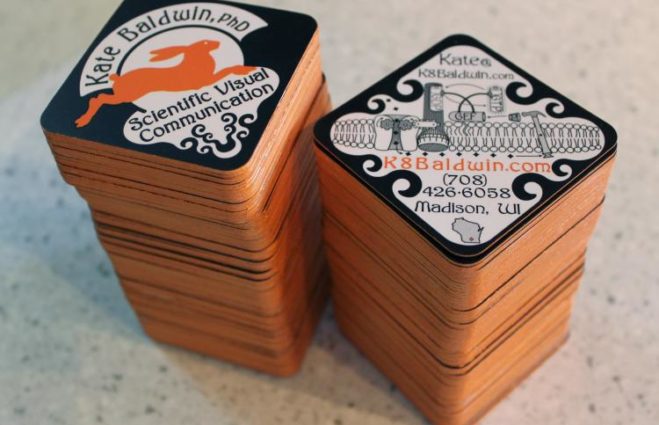
I recently ordered some business cards from Card Sox. I got 500 square, rounded corner, spot UV (2 sided) cards for less than $100 including delivery. However, Card Sox does not offer edge painting. The cards I received look good, but there is a more wobble on the cutting than I am used to. Because my cards have a boarder, it’s noticeably uneven on many. I recommend Card Sox if your cards do not a boarder.
Here are the cards before edge painting:

Edge painting is when the thin side of the card is painted a bright color. Traditionally, this process can only be done to black cards because some bleeding-in of the paint is enviable and would show up on white cards.
After reading some great blogs (This one recommends sponge brush, and this one details how spray paint doesn't work, this one recommends sharpie, that didn't work well for me.), I decided to give it a try with my new cards. I found a type of paint (Viva Metallic Rub) at JoAnn’s craft store ($6.5) that did a great job. I even tested it on some older white cards I had laying around, and it works great. This paint does not bleed in.

You don’t need the clamp but it’s handy. Don’t over tighten it or it will actually make the edges fan out. You definitely want to use a sponge brush. It’s tempting to rub it on with your fingers, but that results in too much product being applied and unnecessary flacking off. Although expect some flakes of paint when you first ‘shuffle’ the cards no matter how you apply the paint. I un-stacked them immediately to prevent the cards from sticking. This rub-paint is not runny, so if you separate them right away it won’t be too messy. It seems to dry within an hour or so.

