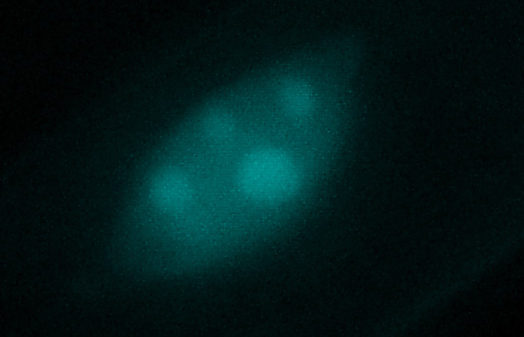
How to add color to a grey-scale/black & white microscope image using Adobe Photoshop (any version)

These steps work in any version of Adobe Photoshop. The interface looks very slightly different in different versions, but I think you will be able to follow this just fine.
Step 1: Open your black and white image in Photoshop
Step 2: On the lower side of the layers pallet, click on the small round button that looks like a black and white cookie (see photo below with arrow pointing to it).
Can't see your layers pallet? Never fear, you can find all pallets under the menu at the top called "WINDOW." (It's in the same row as File, Edit, Image, Layer, Type, etc.) Look down the list under WINDOW and check Layers.

Step 3: The black and white cookie button (formally known as the the "create new fill or adjustment layer" button) will open a list of options. Choose "solid color."

Step 4: Pick a color. Click OK.

Step 5: Your entire image is now just solid color. Don't panic. Again, look to your layers pallet and find the pull-down menu that currently says normal. This is the blending mode menu. Change it from "Normal" to "Color".

Theory behind blending modes: Blending mode changes how the pixels on this layer will interact with the layers below. "Normal" means that they will just stack on top, thereby covering the layers below. Each of the other blending modes are different algorithms. For example, "darken" means only the dark pixels on this layer would show and the light pixels won't show. For this tutorial, you probably want to stick with "color."

Step 6: Your image should be colorized now. In addition to saving as a JPEG or whatever format you want to use this image as, also save as a Photoshop file (.PSD) so that you can retain a record of how the colorizing was done, and also so that you can change the color later with ease.


Whenever you open your PSD file, you will still see your color layer in the layers pallet above your black and white original image.

You can always click off the 'eye' on the colorizing layer to see your grey-scale image below. Re-click it to turn the eye back on.

Changing the Color
It's easy to change the color later if you save the file as a PSD. Just double click on the colorful part of your colorizing layer and pick a new color. Click OK.

